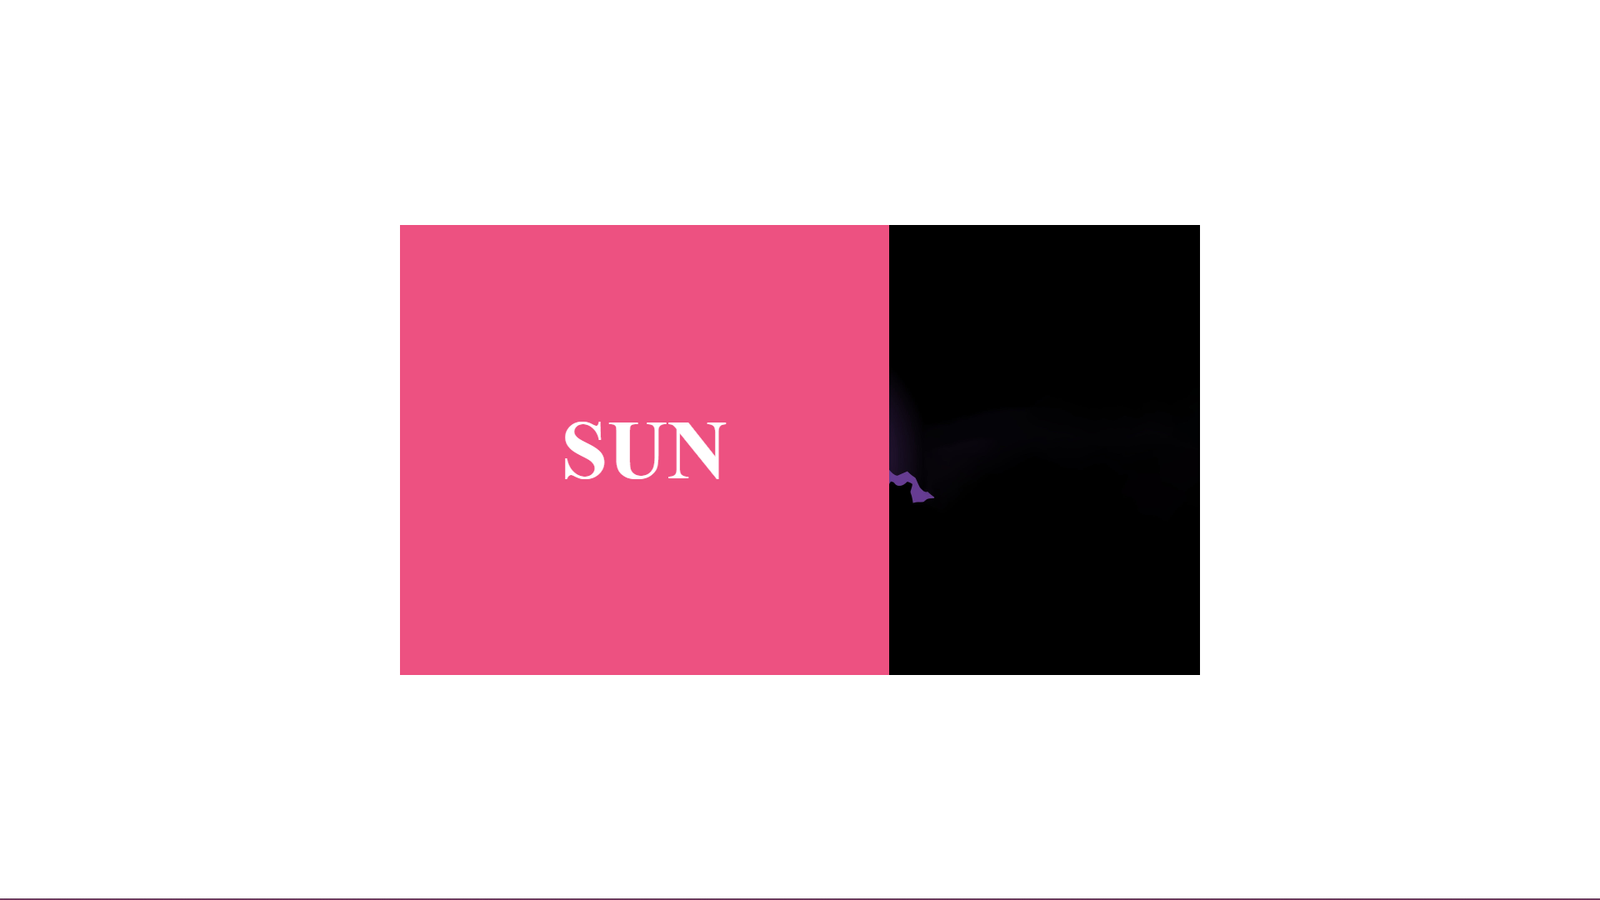
In this blog, This code creates an HTML webpage that displays an item check list using only CSS. The webpage has a pink background color and the check list is display in the center of the screen. The check list has a light pink background and a red border, with a box shadow and rounded edges. The title of the list is “Item Check List Only CSS” and is display in white text with a white bottom border.
Each item in the list is a label element that contains an input checkbox and a span element. The checkbox is style to have no default appearance, and the span element is use to display the text of the list item. The label element also contains an “i” element, which is use to create the checkmark that appears when an item is check.
When an item is check, the associate “i” element is rotate and the associat span element is style to have a pink color. Additionally, a thin red line is add to the span element as a strike-through effect. The animation of the checkmark and the strike-through effect are create using CSS transforms and transitions.
The CSS code at the end of the snippet is use to style the webpage, including setting default styles for all elements, styling the body, list, h2, label, input, and span element. The styles include positions, colors, font-size, box-shadow and more.
Video Tutorial of Item Check List
To see a live demonstration of the Item Check List, Click Here. For a complete video guide on how the generator works, check out the accompanying YouTube video.
Why do we use checkboxes ?
A checklist is a type of list that is use to keep track of items that need to be complete or check off. In HTML, checklists are typically create using the <ul> or <ol> elements, and each item in the list is represente by a <li> element. Each <li> element can then be accompanied by a checkbox input element, <input type=”checkbox”>, which can be checked or unchecked by the user to indicate the completion of the item.
In CSS, checklists can be style to match the design of the website or application. For example, the checkboxes can be hidden and the label of the item can be style to appear as a button. The checkboxes can be style to change color or have a different icon when they are check. The list items can also be style to change color or be hidden depending on whether the checkbox is check or not.
Checklists are commonly used in web applications and forms to allow users to select multiple options from a list. They are also used for creating to-do lists, survey forms, and other types of user input forms.
Item Check List
HTML Part:
Create a new file with the name “index.html” and add the provide code to it. Ensure the file has a “.html” extension.
<!DOCTYPE html>
<html lang="en">

<head>
    <meta charset="UTF-8">
    <meta http-equiv="X-UA-Compatible" content="IE=edge">
    <meta name="viewport" content="width=device-width, initial-scale=1.0">
    <link rel="stylesheet" href="style.css">
    <title>Item Check List Only CSS</title>
</head>

<body>
    <div class="list">
        <h2>Item Check List Only CSS</h2>
        <label>
            <input type="checkbox">
            <i></i>
            <span>Lorem ipsum dolor sit amet.</span>
        </label>
        <label>
            <input type="checkbox">
            <i></i>
            <span>Lorem ipsum dolor sit amet.</span>
        </label>
        <label>
            <input type="checkbox">
            <i></i>
            <span>Lorem ipsum dolor sit amet.</span>
        </label>
        <label>
            <input type="checkbox">
            <i></i>
            <span>Lorem ipsum dolor sit amet.</span>
        </label>
        <label>
            <input type="checkbox">
            <i></i>
            <span>Lorem ipsum dolor sit amet.</span>
        </label>
    </div>
</body>

</html>
The body of this code is the section between the <body> tags. It contains a div element with the class “list” that includes a heading and several labels. Each label contains an input checkbox element, an empty i element and a span element with some text. This code creates a checklist that is fully style using CSS. The link to the CSS stylesheet “style.css” is include in the head section, where the style are applie to the elements to achieve the desired design.
The input checkbox element is use to allow the user to check or uncheck the items on the list. The empty i element is use in the CSS as a hook to apply custom styles to the checkbox. The span element is use to display the text of the list items. The heading is use to give a title to the list. The title of the document is “Item Check List Only CSS” which indicate the usage of CSS only to create the check list. The meta tags in the head section provide information about the document, such as the character encoding and viewport size.
CSS Part:
Create a new CSS file name “style.css” and copy the provide code into it. Ensure that the file has a “.css” extension.
*{
    margin: 0;
    padding: 0;
    font-family: consolas;
    box-sizing: border-box;
}
body{
    display: flex;
    justify-content: center;
    align-items: center;
    min-height: 100vh;
    overflow: hidden;
    background: #ffb3c1;
}
.list{
    padding: 30px 75px 10px 30px;
    position: relative;
    background: #ff8fa3;
    border-top: 50px solid #ff4d6d;
    box-shadow: 0 0 10px #800f2f;
    border-radius: 5px;
}
.list h2{
    color: #fff;
    font-size: 30px;
    padding: 10px 0;
    margin-left: 10px;
    display: inline-block;
    border-bottom: 4px solid #fff;
    border-radius: 2px;
}
.list label{
    position: relative;
    display: block;
    margin: 40px 0;
    color: #fff;
    font-size: 25px;
}
.list input[type="checkbox"]{
    -webkit-appearance: none;
}
.list i{
    position: absolute;
    top: 2px;
    display: inline-block;
    width: 25px;
    height: 25px;
    border: 2px solid #fff;
}
.list input[type="checkbox"]:checked ~ i{
    top: 1px;
    border-top: none;
    border-right: none;
    height: 15px;
    width: 25px;
    transform: rotate(-45deg);
}
.list span{
    position: relative;
    left: 40px;
    transition: 0.5s;
}
.list span::before{
    content: '';
    position: absolute;
    top: 50%;
    left: 0;
    width: 100%;
    height: 1px;
    background: #ff4d6d;
    transform: translateY(-50%) scaleX(0);
    transform-origin: right;
    transition: 0.5s;
}
.list input[type="checkbox"]:checked ~ span{
    color: #ffb3c1;
}
.list input[type="checkbox"]:checked ~ span::before{
    transform: translateY(-50%) scaleX(1);
    transform-origin: left;
    transition: transform 0.5s;
    transition-delay: 0.5s;
}
The main css properties in this code are:
“:checked” selector, “transform“, “transition” and “::before” pseudo-element.
The :checked selector is use to select the input element when it is check. This is use to apply different styles to the label when the checkbox is check. The transform property is use to rotate the i element and scale the span::before element when the checkbox is check. This creates the checkmark animation. The transition property is use to smoothly animate the changes made by the transform property. It’s used to animate the changes in the i element, the span element and the span::before element. The ::before pseudo-element is used to add a line to the left of the text when the checkbox is checked.
The display property is use to “flex” for the body element, which centers the text and aligns it in the middle of the screen. The font-family is use to consolas, and box-sizing is use to border-box for the whole elements. The background color is use to “#ffb3c1” for the body element, and “#ff8fa3″ for the .list element. The padding, position and border-radius properties are use to style the .list element and create the desired design. The h2 element is style using color, font-size, padding, margin-left, display, border-bottom and border-radius properties. The label element is style using position, display, margin, color, and font-size properties. The input[type=”checkbox”] element is style using the -webkit-appearance property to remove the default checkbox style
Summary:
The above code is an HTML webpage that uses only CSS to create an item check list. The webpage has a pink background and the check list is display in the center of the screen with a light pink background, red border, box shadow, and rounded edges. Each item in the list is a label element that contains an input checkbox and a span element for the text of the list item. When an item is check, the associated checkmark appears and the span element has a pink color and a red line is add as a strike-through effect. The animation of the checkmark and the strike-through effect are create using CSS transforms and transitions. The CSS code at the end is use to style the webpage and its elements.